November 18

It’s Slab Folding Time

In class we learned two similar techniques: origami vessels and soft slab construction using Liz Zlot Summerfield’s technique. The Liz Zlot vessel was formed through soft slab construction. First, I needed a template. Initially, we used a generic square template to learn the process, before making our own templates.

template with equilateral triangle base and sides of equal length

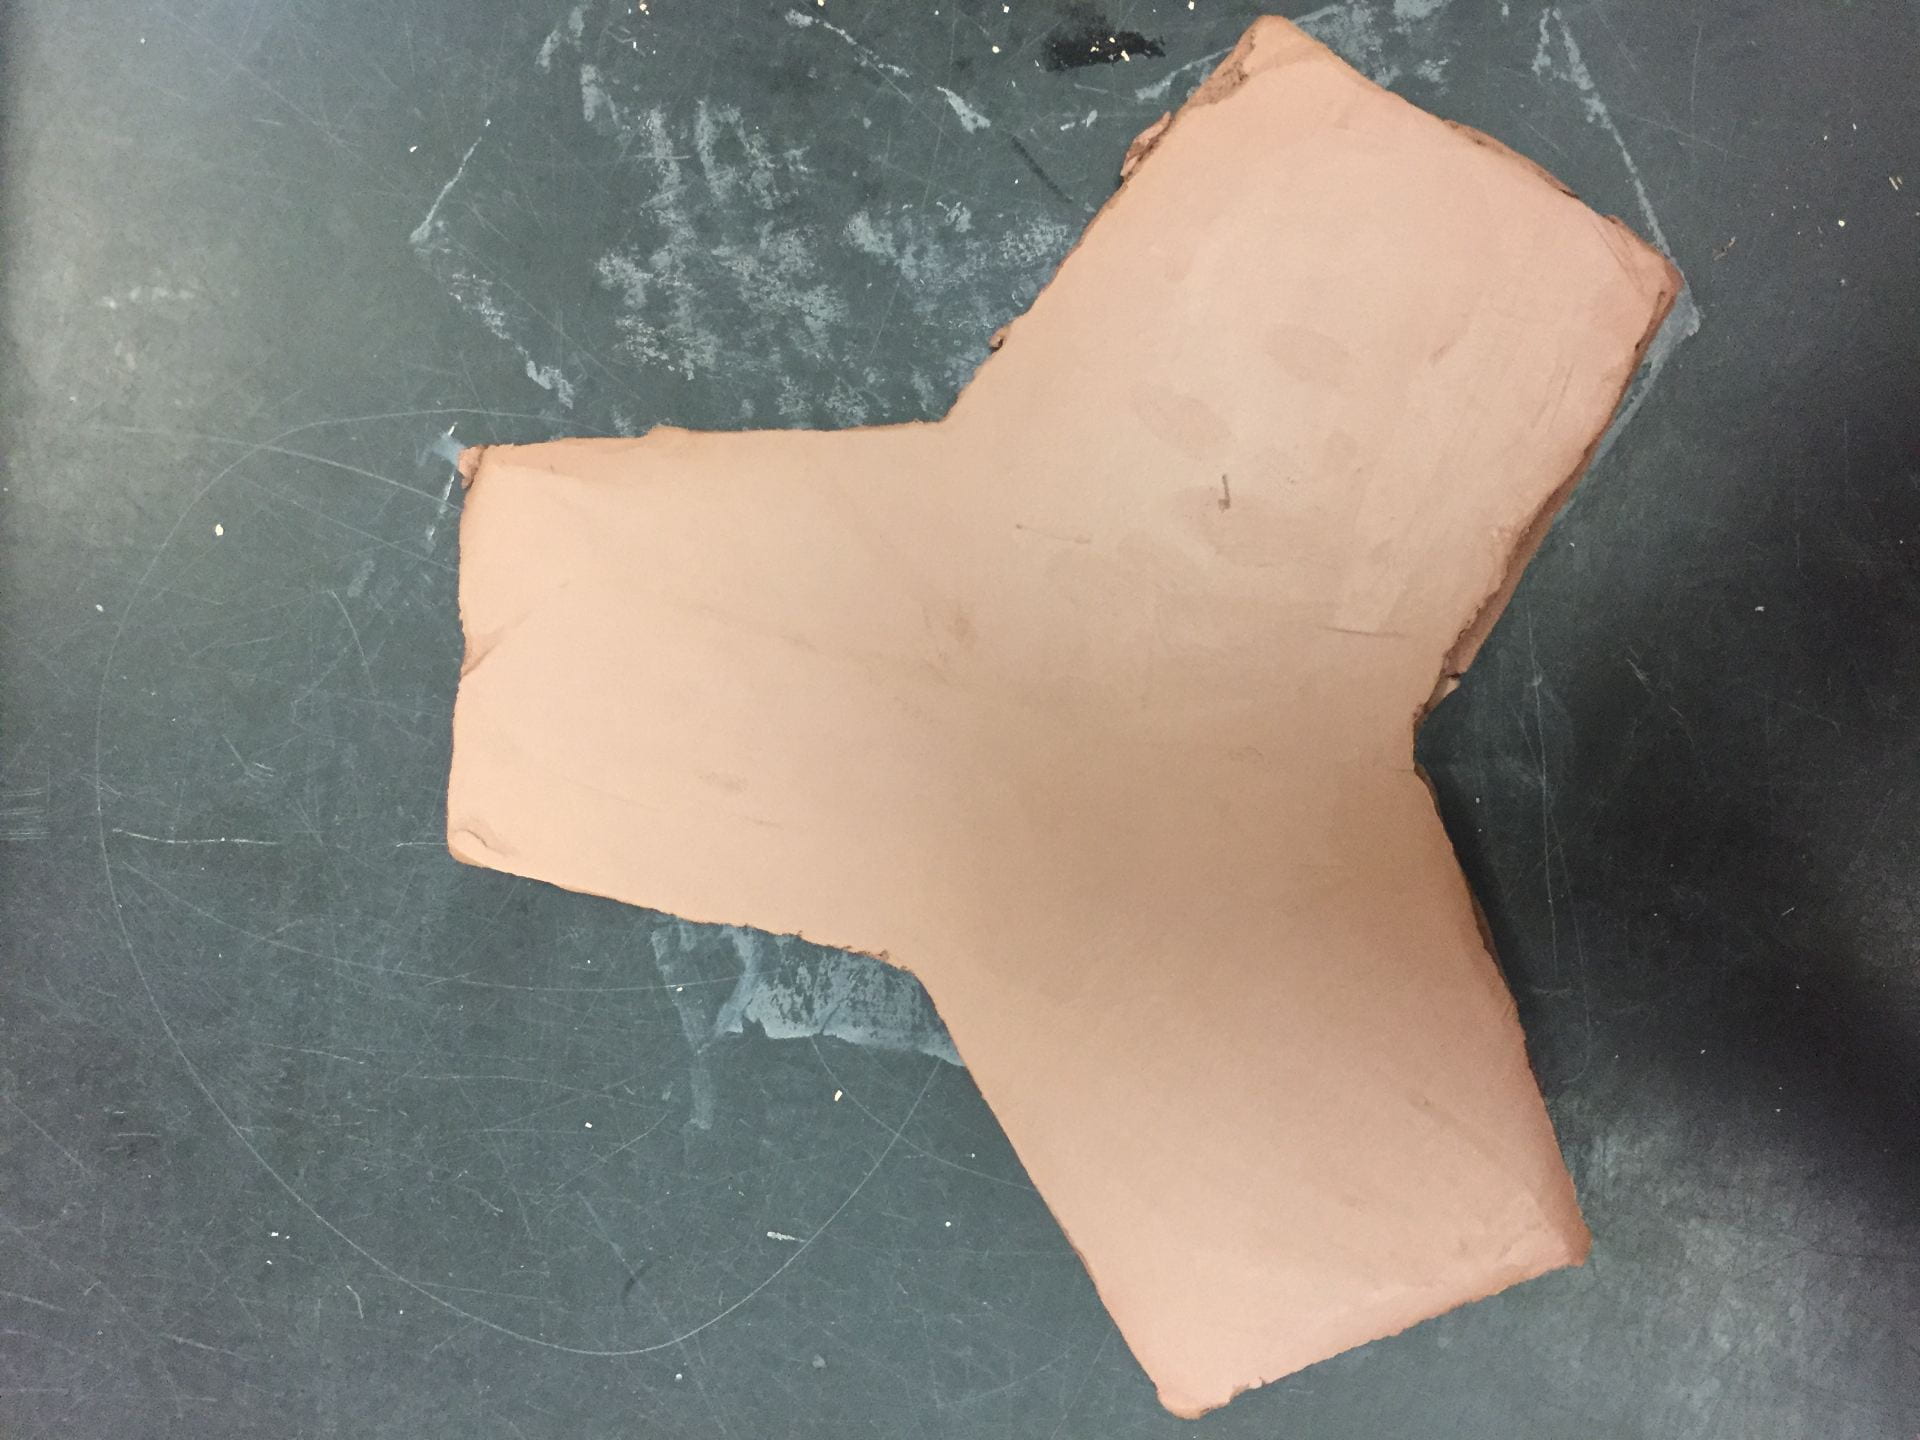
cutout of template on a thin moist slab

I decided to create a template with an equilateral triangle base instead of square. Then, I made and smoothed a slab of very soft clay and cut the shape out of the template before beveling the edges. The sides were then gently

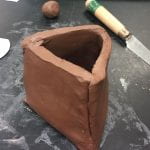
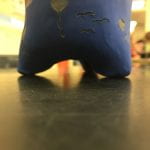
vessel after sides are folded up

lid

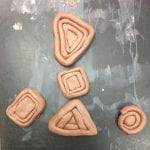
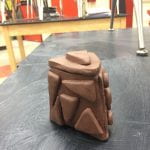
folded up till they met where they were pressed together (no scoring because clay was very soft) and the process lines were left to add to the piece. When I created my piece, the sides were at uneven angles and causes the top of the vessel to form an isosceles triangle instead of the intended equilateral one. After I had the basic form of my piece, I created a lid for it. On the lid I added an applique triangle, to form a unique handle to grab it by. This led me to decide to embellish the rest of the piece with basic geometric shapes. I did a different shape on each side: circles on one, squares on another, and triangles on the last.

The other new technique we learned was using clay like origami. Similarly to Liz Zlot’s technique, a template is created and cut out of a thin soft slab. I used a rectangle template and cut right angles strips on to the side of the template attempting to mimic what the video appeared to show. However, instead of right angles, the video actually had slightly diagonal cuts on the template. Then, the sides are folded up overlapping each other (they can be on top of or under) to create a vessel. I folded my sides on top of each other using ample scoring and slip to make solid connections, but due to the basic angles I used, the vessel lacked the flare seen in other pieces. If I recreated the piece, I would not use right angles and would experiment with the way and amount of folds. For example, I may fold opposing sides rather than all 4 and use a template that flares towards or away from the edge instead of parallel to.


(Images of third side of Liz Zlot form and origami piece corrupted and lost, will retake)

October 3

The Tripod Mug

There are a variety of ways to convey meaning through craftsmanship. In drawings and cartoons, especially political and social ones, caricatures and exaggerations of physical and personality traits can be used to convey an opinion or meaning. In ceramics, texture, shape, type of clay, and design can convey meaning. A neatly made piece could display a deliberate care in details, while a sloppily made one may have some features seen as accidental.

Figure 2: three distinguishable points

Figure 1 : clearing on bottom of mug

When making the tripod mug in class, the first thing I learned was how to use the slab roller (I had forgotten in my year out of pottery). I also refreshed my memory of beveling edges to join them and the technique used to create the unique shape of the foot was entirely new. After forming a hollow cylinder by connecting the edges of the slab, the side chosen to be the bottom was gently bent in towards itself from three points. This contrasts to the method of simply pinching the bottom at three points to combine them. The former method results in a clearing along the bottom with three distinguishable feet (Figures 1 and 2), while the latter method results in a single conjoined foot where the three points meet with a flat bottom and no clearance beneath it. The method I used could not be used to entirely close the mug, leaving a triangle shaped hole at the bottom, but this is easily patched with a small piece of clay. (Disclaimer- though the pictures were taken after underglaze was applied, the structure of the mug remains the same)

If I were to change the mug, I would try to make a more exciting handle. The one currently present is pretty standard for a mug and more could’ve been done to make it unique, whether by changing the size, shape, or appearance. I could twist coils together to make an exciting look or make the handle curvy (though this would add to appearance, it might hinder its use). Another thing I could have done was make the handle the shape or outline of something on the mug to match the theme, such as a cloud shaped handle (again, may hinder use).

Figure 4: Other side of mug

Figure 3: One side of mug

When doing sgraffito on the mug, I felt I was successful in making recognizable shapes and outlines that created a very peaceful and happy mood. I used sgraffito to make clouds, birds, balloons, kites, and a sun (Figures 3 and 4). I also think I was able to show perspective by changing the size of shapes to make them appear further or closer. If I were to do something different, I would use a more diverse amount of objects on the mug, or work on making the design of the kites more discernible and unique.

According to google, persistence is defined as “firm or obstinate continuance in a course of action in spite of difficulty or opposition.” When an artist revises, refines, and develops their work, they are bring persistent. When I first made the mug, my slab was too thin and the mug collapsed. I demonstrated persistence when I made a new slab (thicker) and revised my process so that I was successful. For the practice sgrafitto we did, I didn’t love the way my tile turned out, resulting in me developing a new design for the mug which I am very happy with.

September 13

Process Portfolio

In class, we’ve been focusing on refining our skills. We made collages, used terra sigillata, and crafted exposed coil bowls.

F1: Beeswax on collage

When making the collages we first chose pictures from a magazine. Then we learned two different methods to embellish a collage and make it unique. The first one involved covering the collage in beeswax. Then, we used tools to carve lines into the wax. This created gaps in the beeswax that we painted over. When we wiped the paint away from the piece, the paint was left in the crevices. This caused the effect of accenting certain features of the collage.

F2: Collage with paint

For the 2nd method, we put glue onto the pictures, covering patches of the collage. I did my best to outline the shapes. Then, we rubbed […] onto it. This took the ink away from the magazine pictures and faded it rapidly. The parts of the collage that had a layer of glue on them remained unchanged and resulting in them popping (figuratively) out of the piece. When applying glue to my piece, I used a clear glue that was very liquid and not very exact, resulting in a very messy outline.

Another skill we did was exposed coil bowls. We first chose a plastic bowl to work as a mold for the piece, before placing plastic into it so the bowl could be removed. We then molded coils into shapes that we put into the bowl. I experimented with different shapes and styles. I used squares, rectangles, circles, and  triangles.

Figure 4

At first, I used a coil to form the outline of a shape, and placed coils into it to fill it out (Bottom triangle in figure 4). I found it easier to start from the inside, using a small ball of clay and changing it to the shape I needed. I would then wrap a coil around the shape, smooth it, and add another coil (rectangle, square, top triangle). The final method I used to form the shapes was using a continuous coil instead of using layers of coils. This resulted in a spiral look (circle in figure 4). Then I put the shapes into the bowl and smoothed them together on the inside. When it dried to leather dry, I removed the bowl from the mold and the coils were left exposed on the outside.

Smoothed inside